Hi guys! It’s about time I do a fall themed drawing tutorial. I absolutely love fall and love collecting treasures on my walks outdoor. This time I came home with a cute little acorn and decided to draw a simple black and white pencil illustration. This tutorial will give you an insight into my process of how I develop my values and the drawing over all.
Supplies:
- H pencil
- 3B pencil
- 8B pencil
- Moleskine Art sketchbook
These are my usual pencils that I use for pretty much any drawing. However, you can do this drawing with just one pencil, 2B or 3B. ‘B’ means softness and the higher the number before that, the softer the pencil is. ‘H’ means hardness, the higher the number, the harder the pencil is. You have to be very careful with hard pencils. If you make a deep mark on paper or if you draw in a heavy manner, this hard pencil will be harder to erase. However, if you use it with light strokes, it’s a great way to sketch, because it will leave crisp light lines. I won’t recommend anything harder than H if you’re just getting used to the variety of pencil hardness and softness. When it comes to softer pencils, you don’t need a lot of them too. 3B is my midtone pencil, it helps me to establish the main medium values and if I push a bit harder I can get a darker shade too. 8B is the softest pencil I own, and I absolutely love its richness, it gives a nice dark shade and it blends smoothly with itself, not leaving any streaks. Hard pencils can leave marks if you are not used to light even shading.
Paper can be any paper you currently have on your desk. However, I recommend using paper with just a little bit of texture to it. Textured paper allows for more pencil lead to accumulate and, therefore, let you build up layers of shading, while smooth paper can only take a little bit of pencil lead before getting filled up and not giving you any more chance to add to the drawing. Ever felt like the pencil is sliding over the paper, not leaving marks on the drawing? now you know why. But very textured paper, like watercolor, can be hard to deal with and give you unwanted and uneven texture to the drawing. I find Moleskine Art sketchbooks to have just the right balance of texture and smoothness, but there are many other brands that make good paper, it can take a while to find what’s perfect for you.
Now let’s get to the drawing
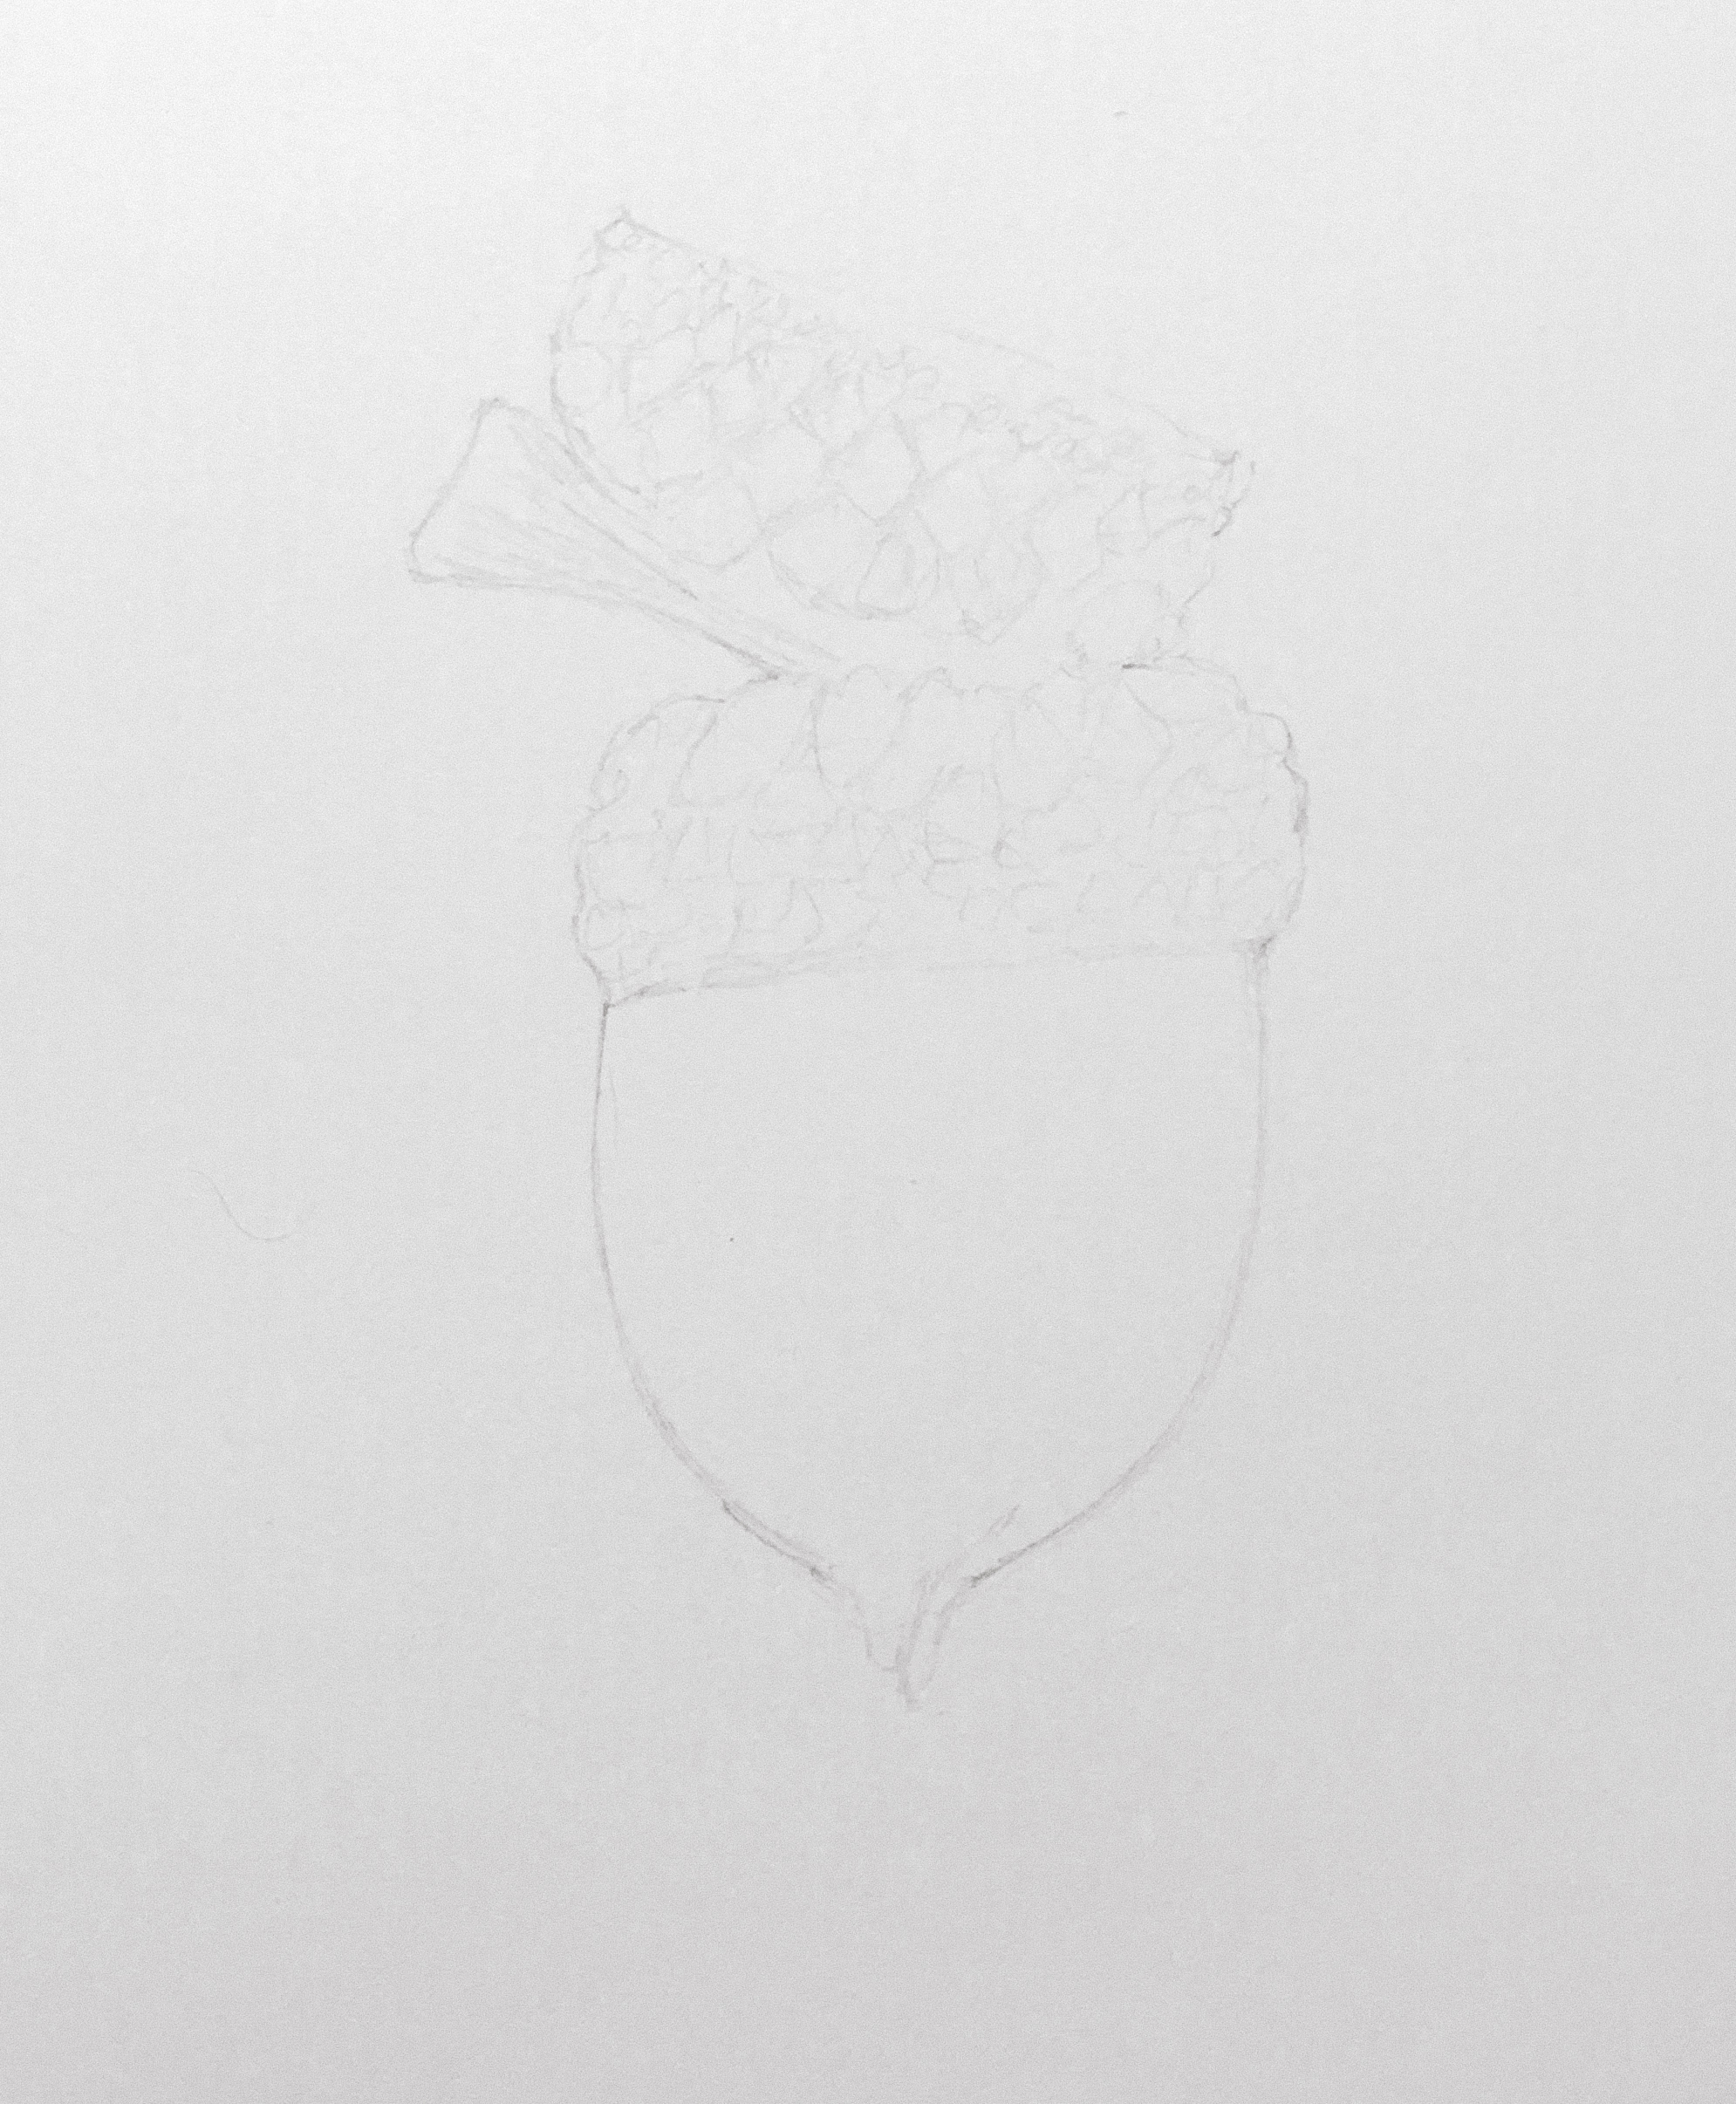
Step one is establishing the main shapes and proportions. I start with my H pencil and only slightly mark the details of the acorn.

Next, I add a slight glaze with a side of the pencil lead just to get rid of white within the acorn because it makes the value judgment more accurate. Acorn I found was pretty dark, almost black, so I know there are no white highlights.

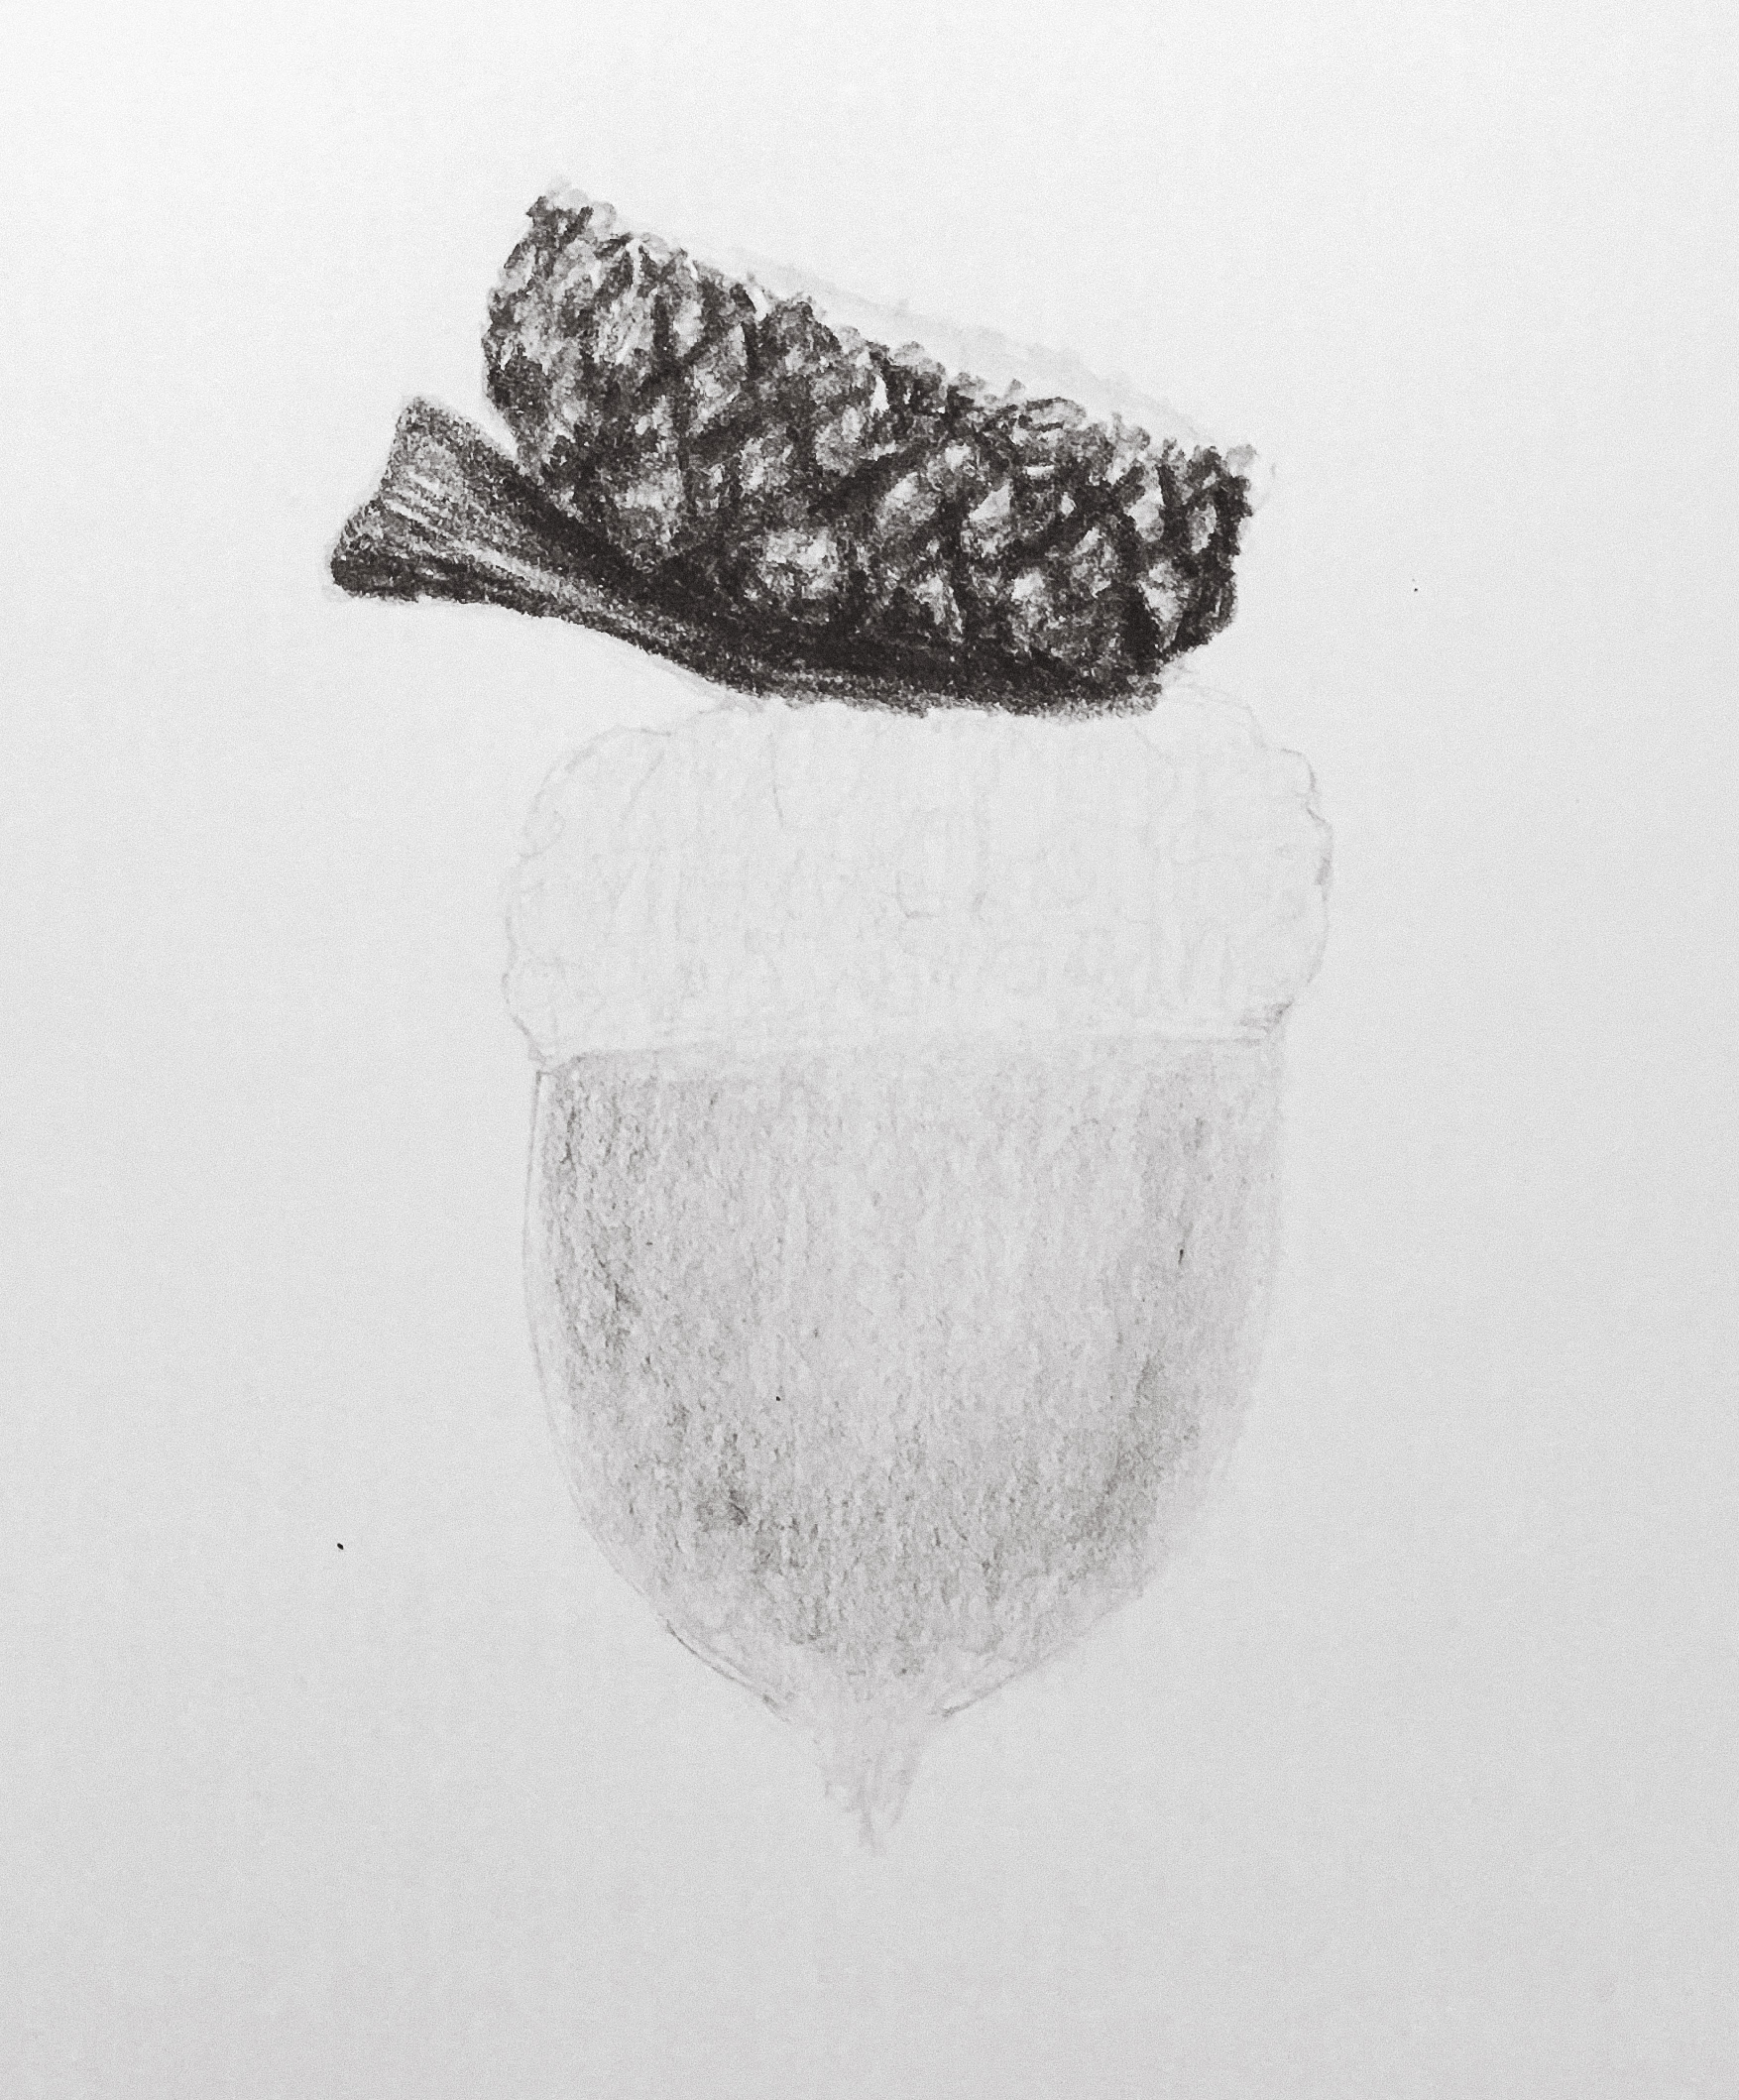
I picked the top empty cap to focus on first, because it is a small area that I can complete quickly and then match the rest of the drawing to the values I establish in this step. First, I outline the main details with soft 3B pencil just to mark the main pattern on the cap and then go in with softer 8B to add the main darkest details.


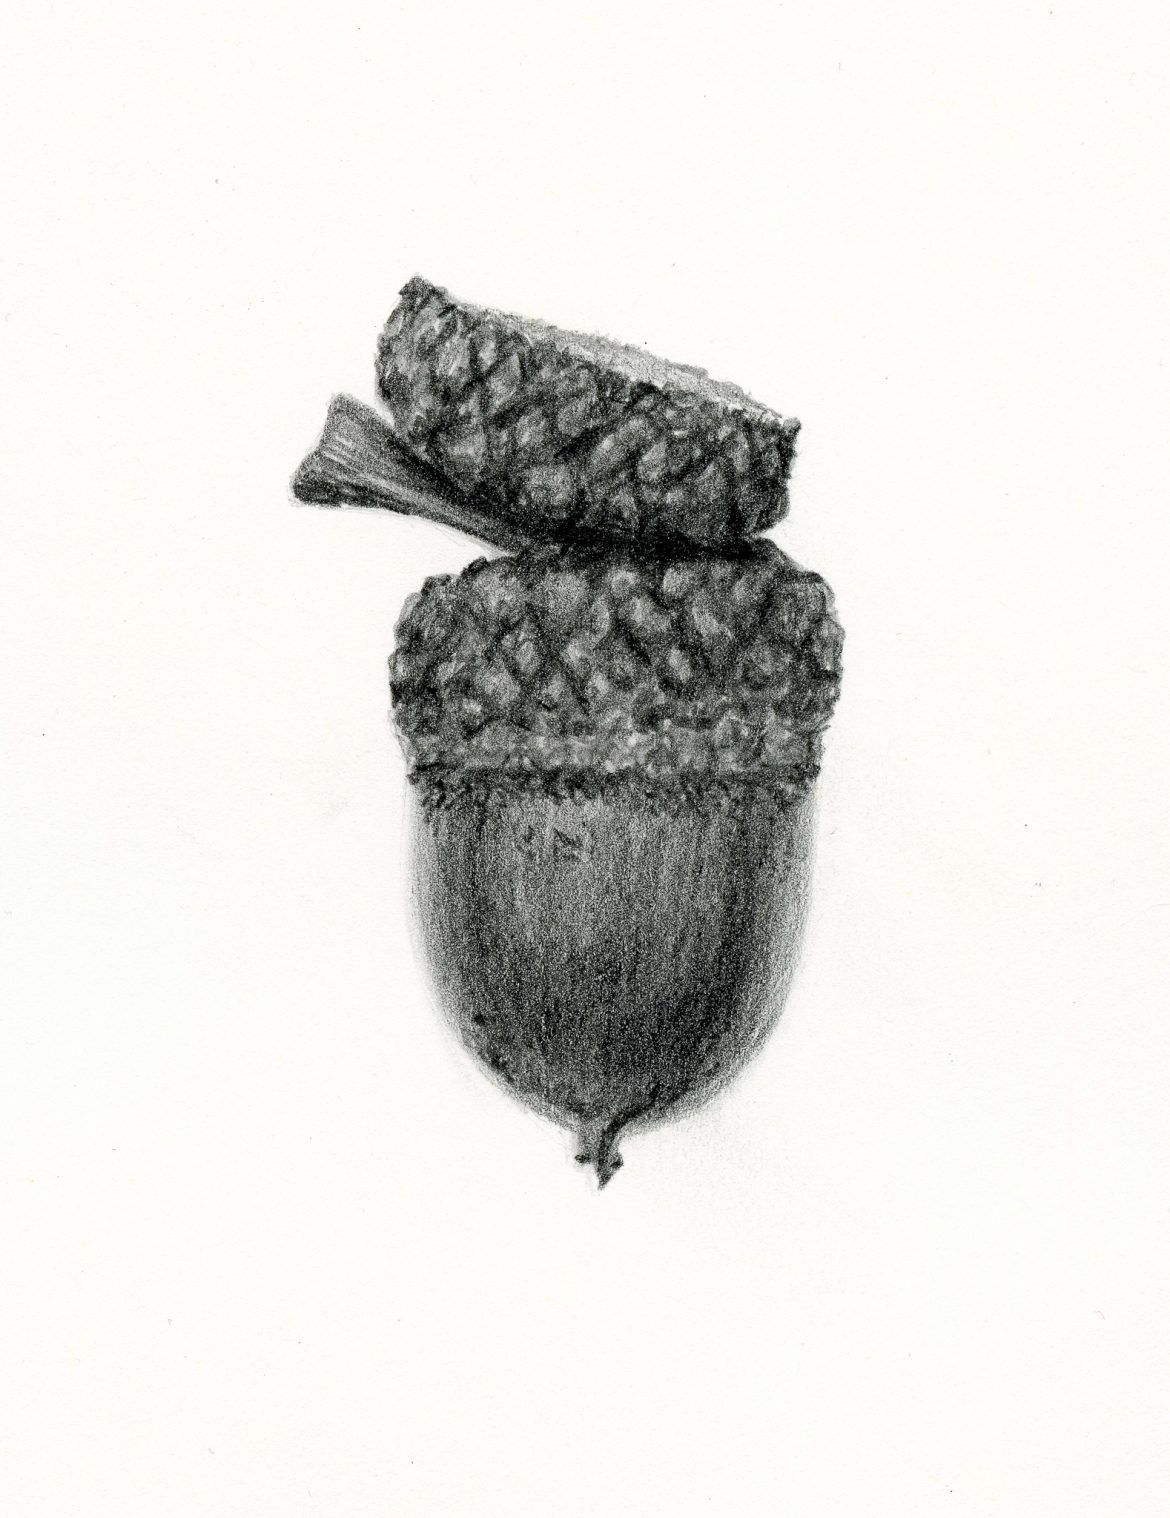
Finally, I follow the same gradual development of values on the main acorn starting from the cap and moving on to acorn. I try to work on the larger areas without staying too focused on small details. It is easier to evaluate the accuracy of your drawing when you develop it as a whole piece. As I was developing the body of the main acorn, I started noticing that the caps had too much contrast with highlight being too light, so I went back a few times and shaded them just to even out the value range a little bit and make them look softer.


You might think you are going in the right direction, but when the drawing is finally complete, you will notice uneven values, some areas are darker when they should be lighter, etc., that happens when you don’t look at a piece as a whole to examine your progress. Compare one part of the drawing to another, is their relation believable? do they look like they belong to the same piece? is the light pattern the same? Asking yourself these questions throughout the drawing process will ensure a successful final result.
Thank you for reading this short tutorial, I hope you picked something useful for your practice. Let me know what else you would like to read about in the comments below 😉
You can check out my Etsy shop for all available prints and originals.
p.s. If you are shopping for art supplies, please use my Blick widgets and Amazon links. I use affiliate links and earn a small commission at no additional cost to you, this helps me keep this blog running and share free information with the world! 🙂


